Welcome back guys!
I think the last post touched a nerve — it seems that many of you guys have had difficulty breaking into the precision GPS market. If you’re not yet inspired to take the precision RTK GPS plunge, just wait — we’re going to have some fun in upcoming posts pitting the ComNav K501G in an Epic Showdown with some of the competitors we mentioned last time. I don’t know about you, but I can hardly wait.
Rover 2
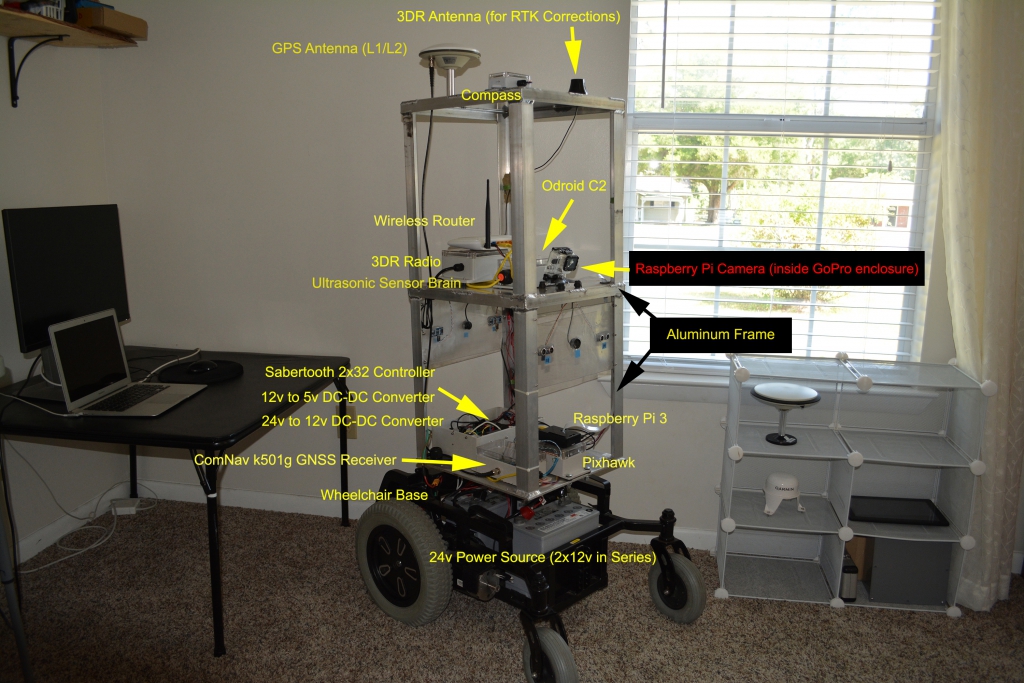
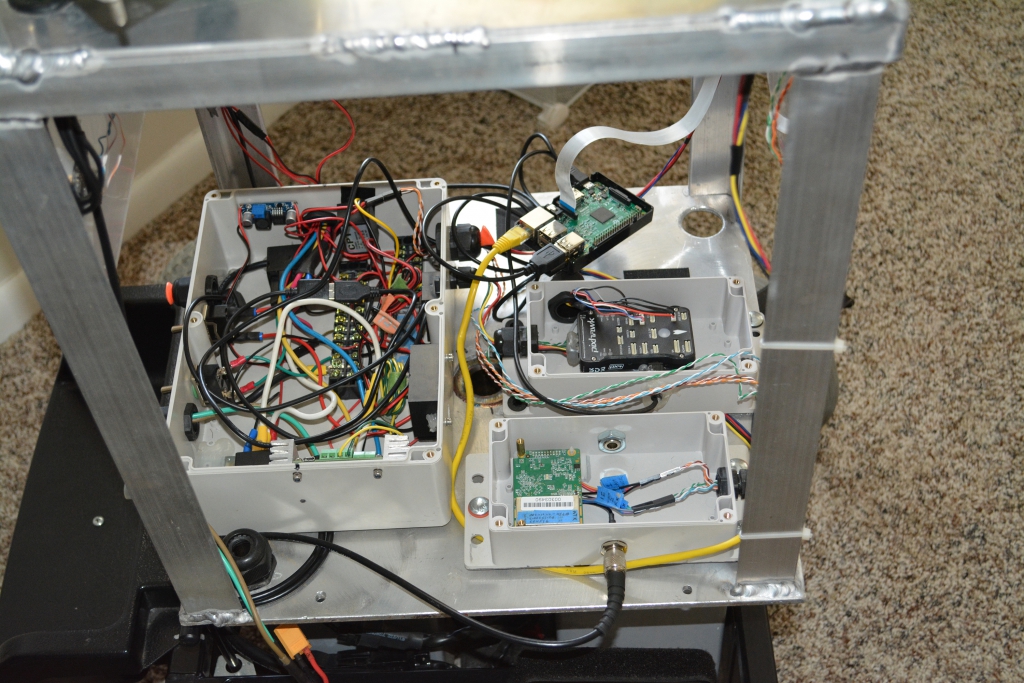
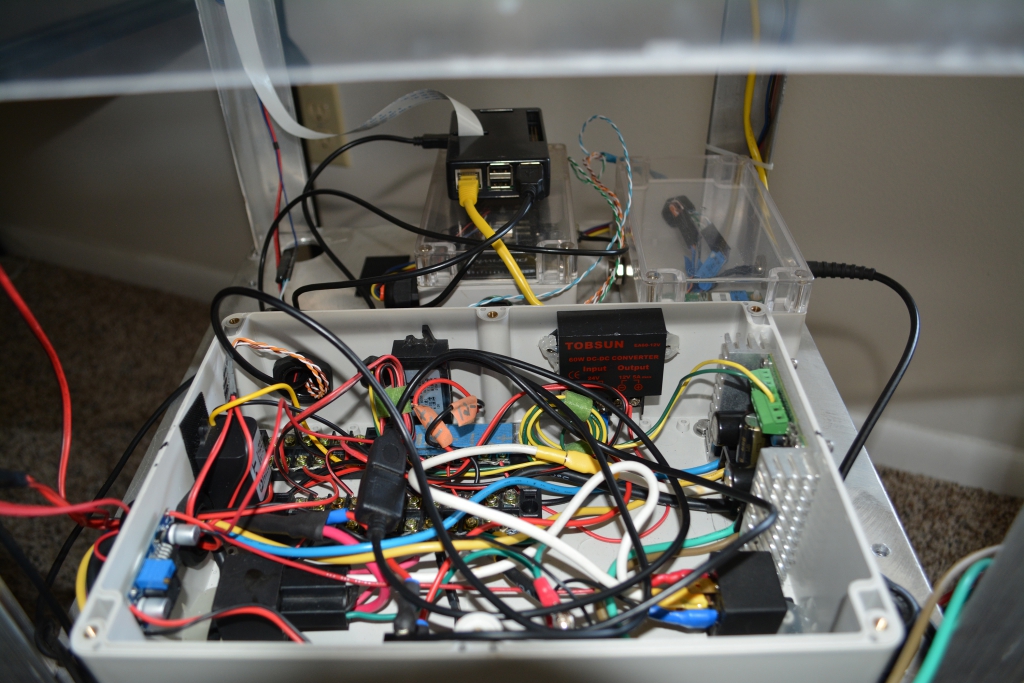
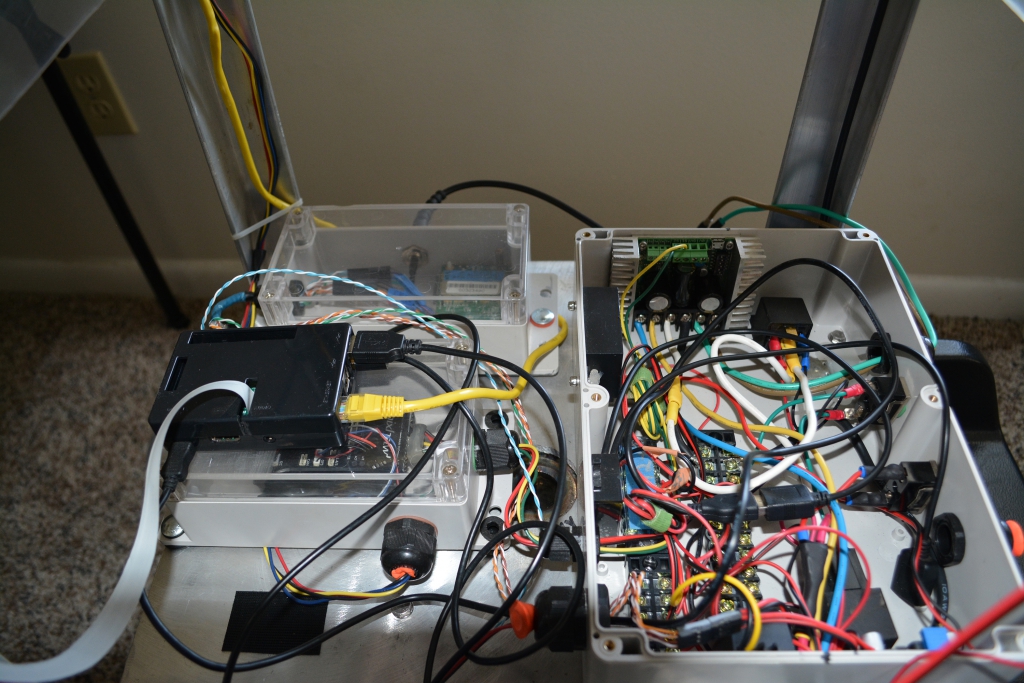
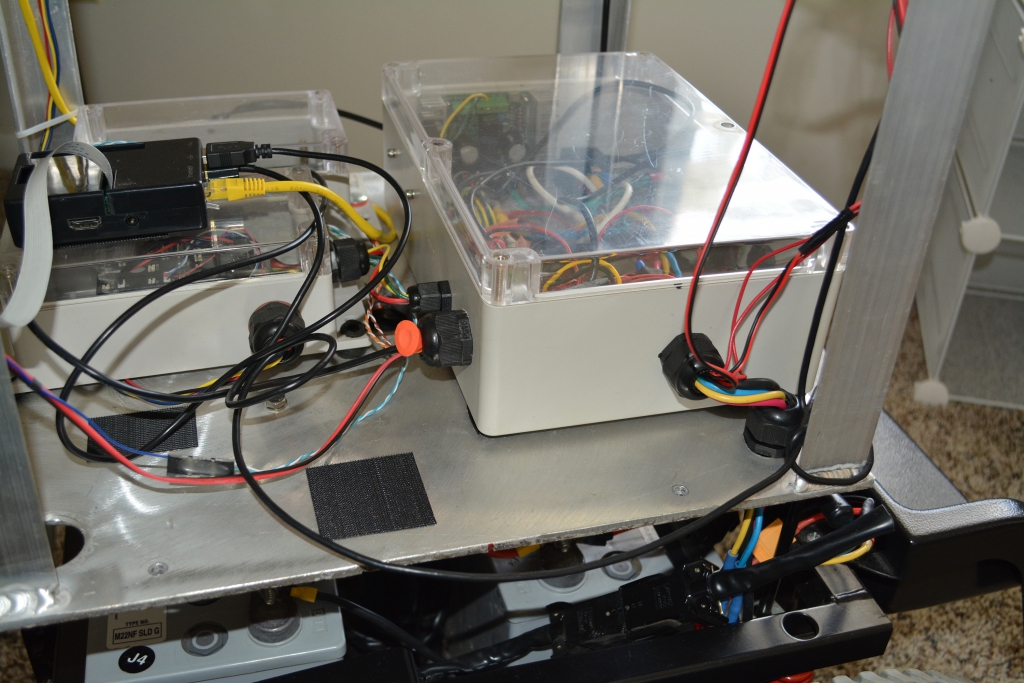
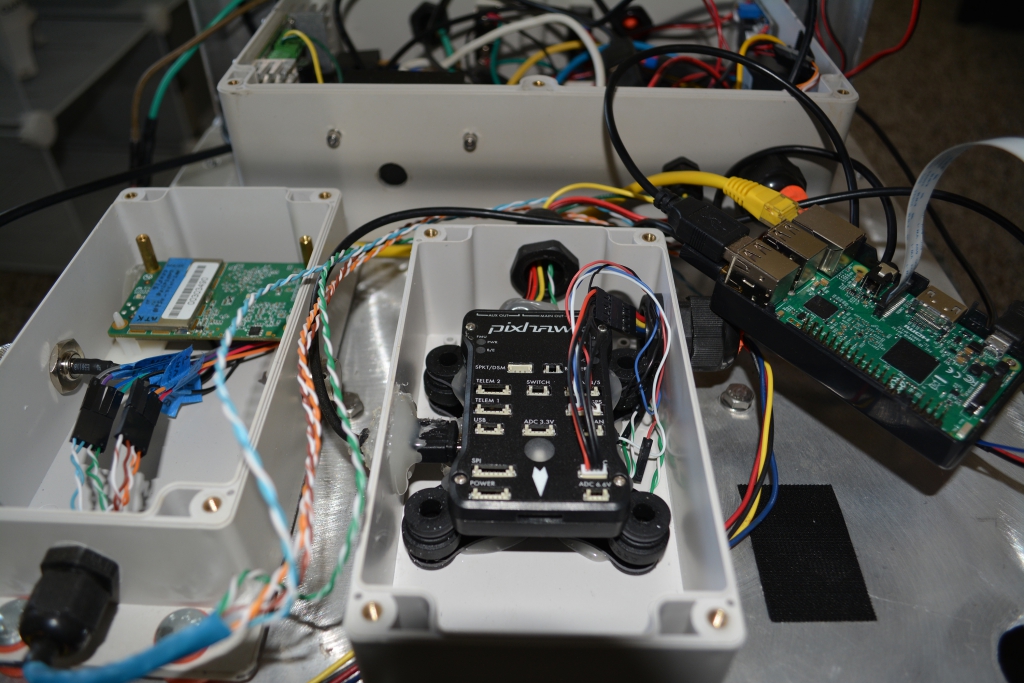
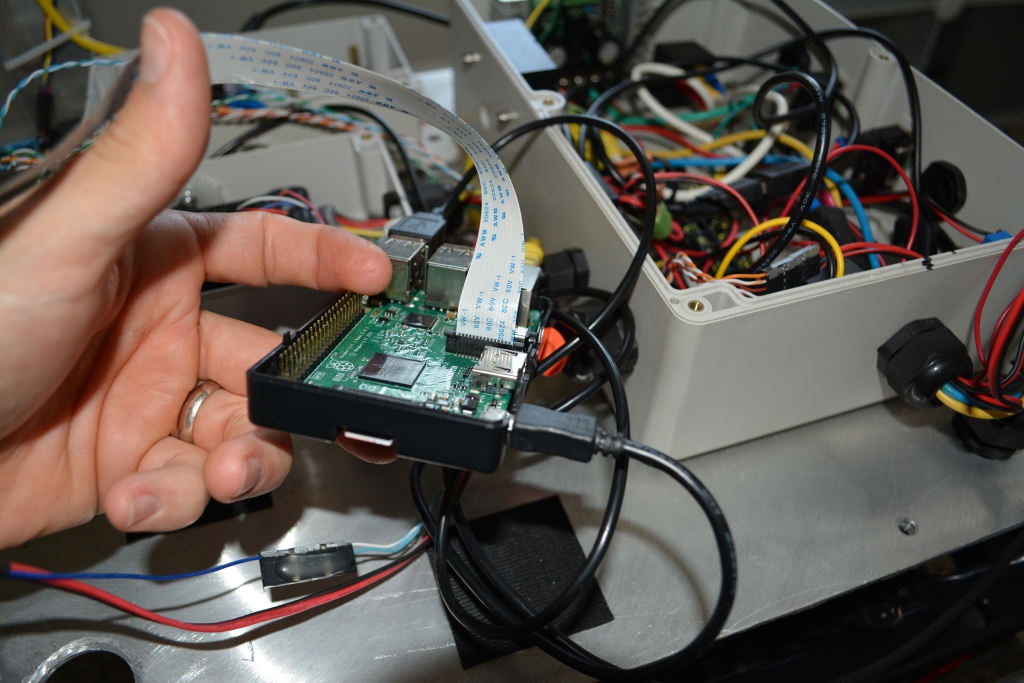
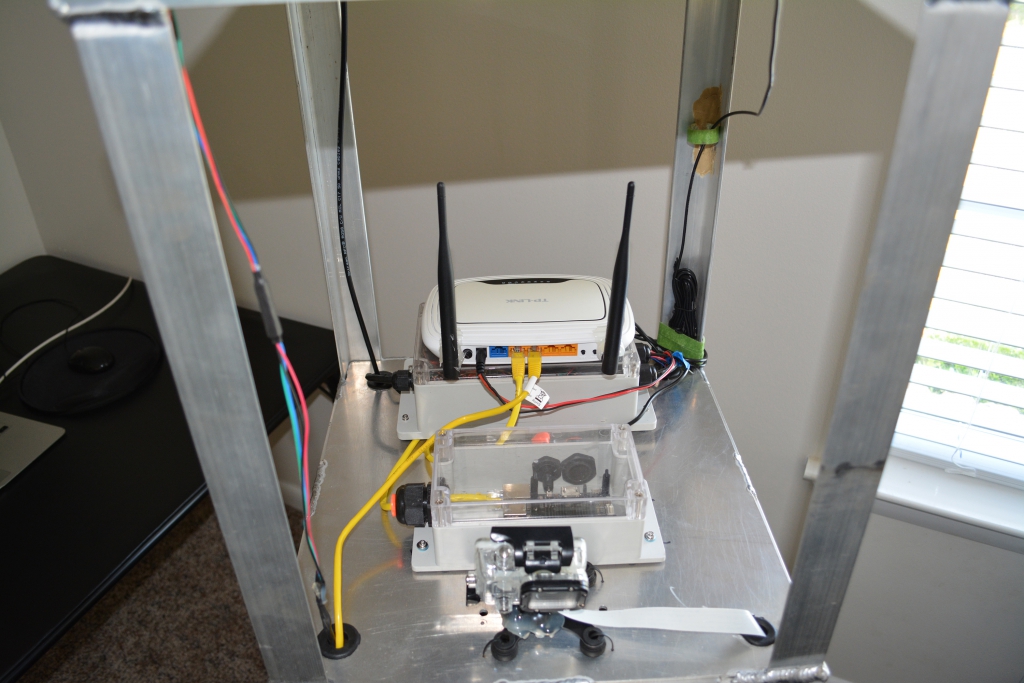
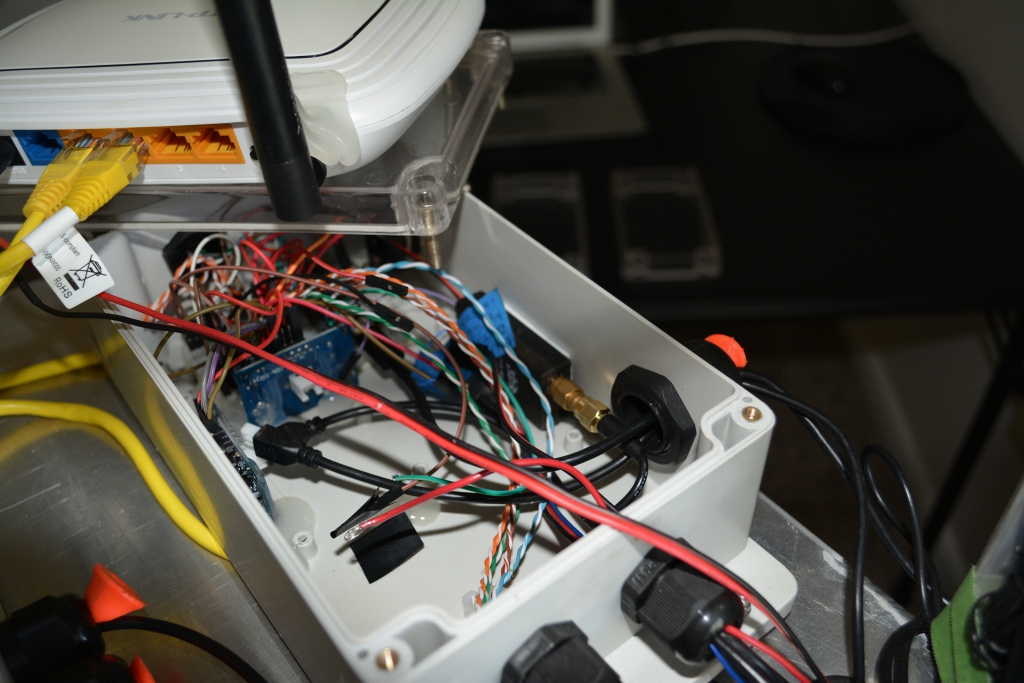
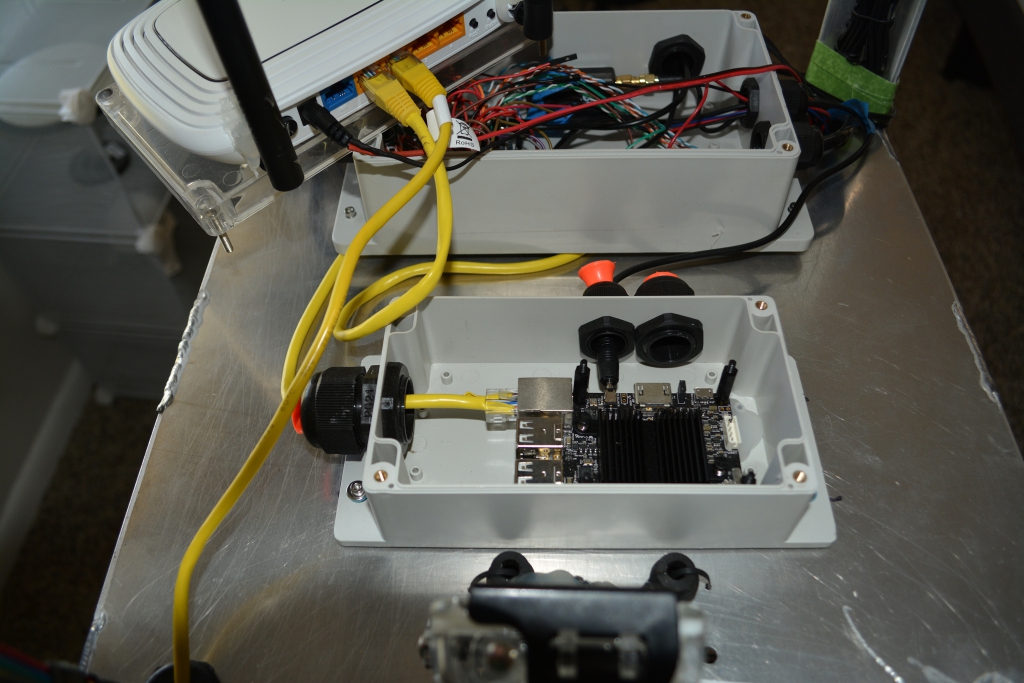
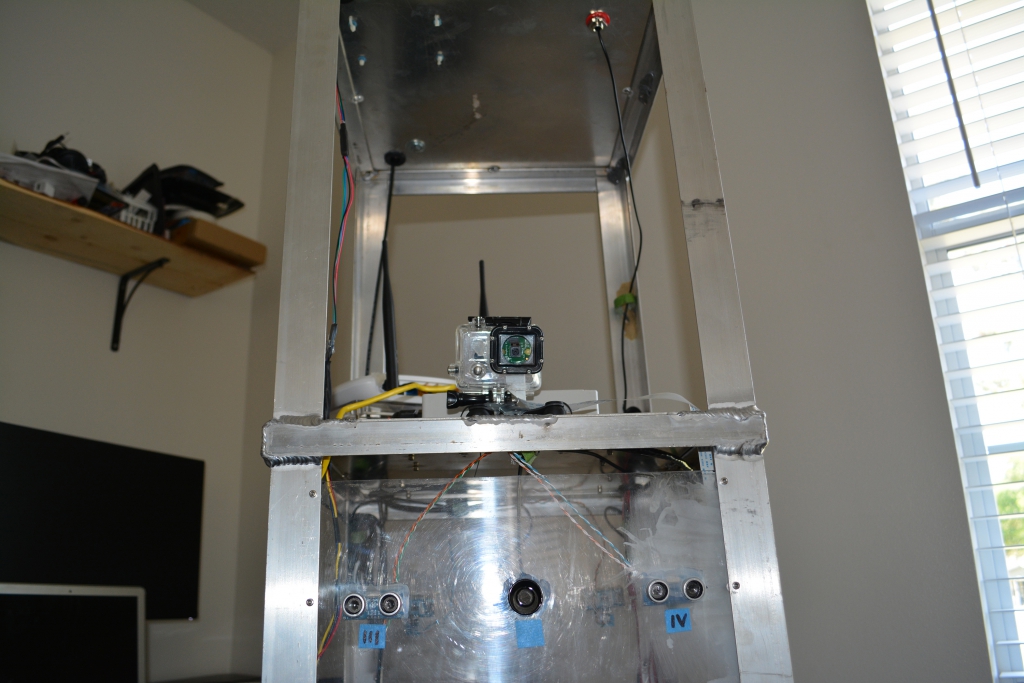
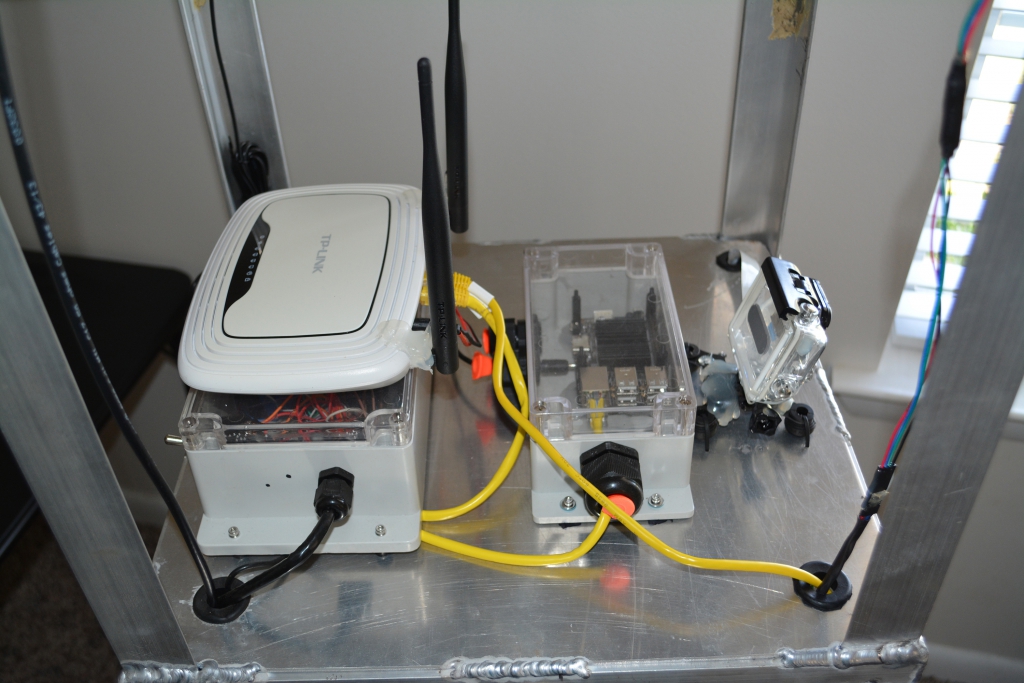
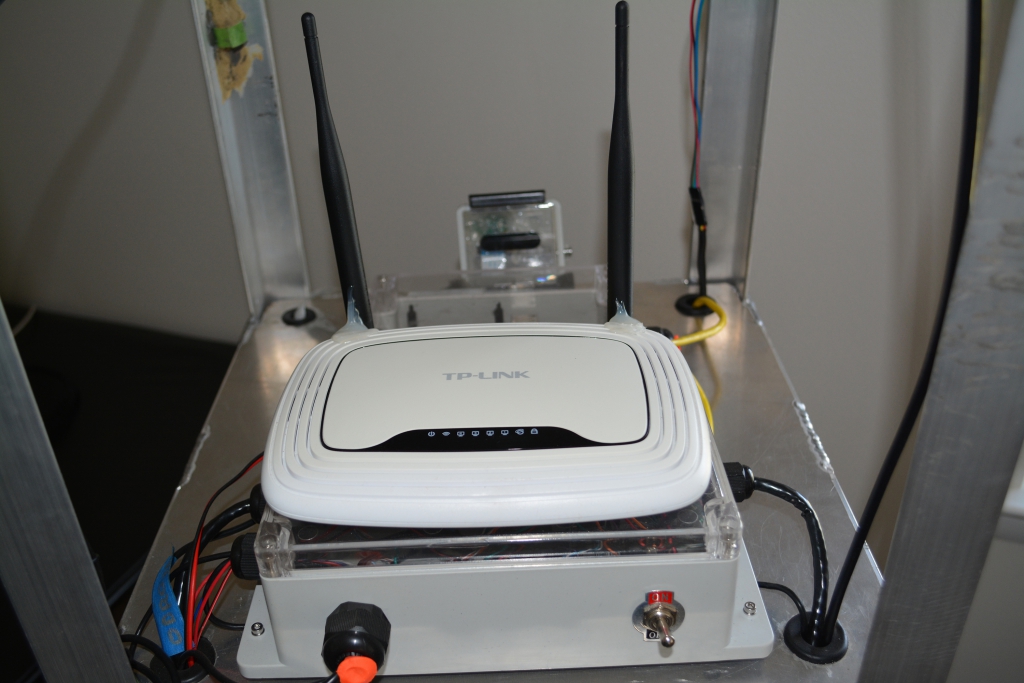
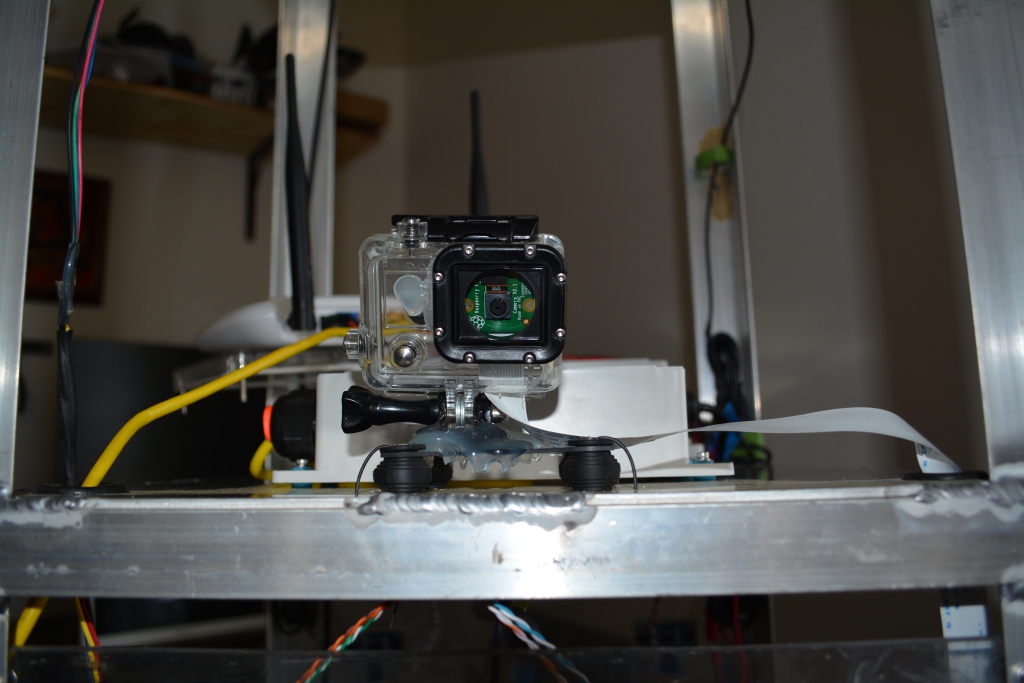
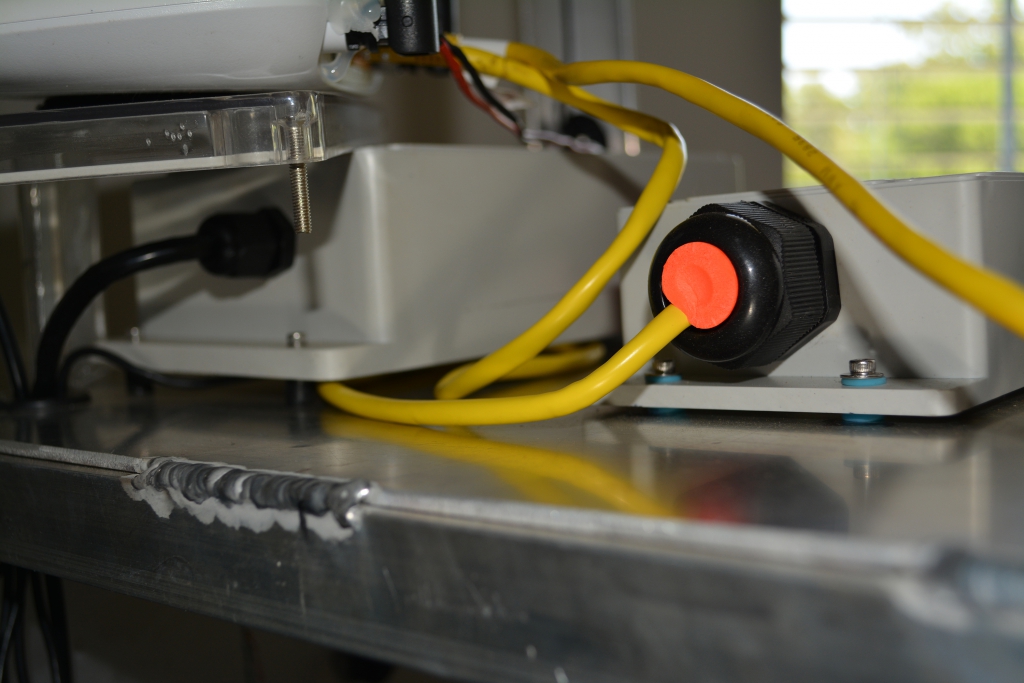
We now present the Rover 2 build as a photo essay:
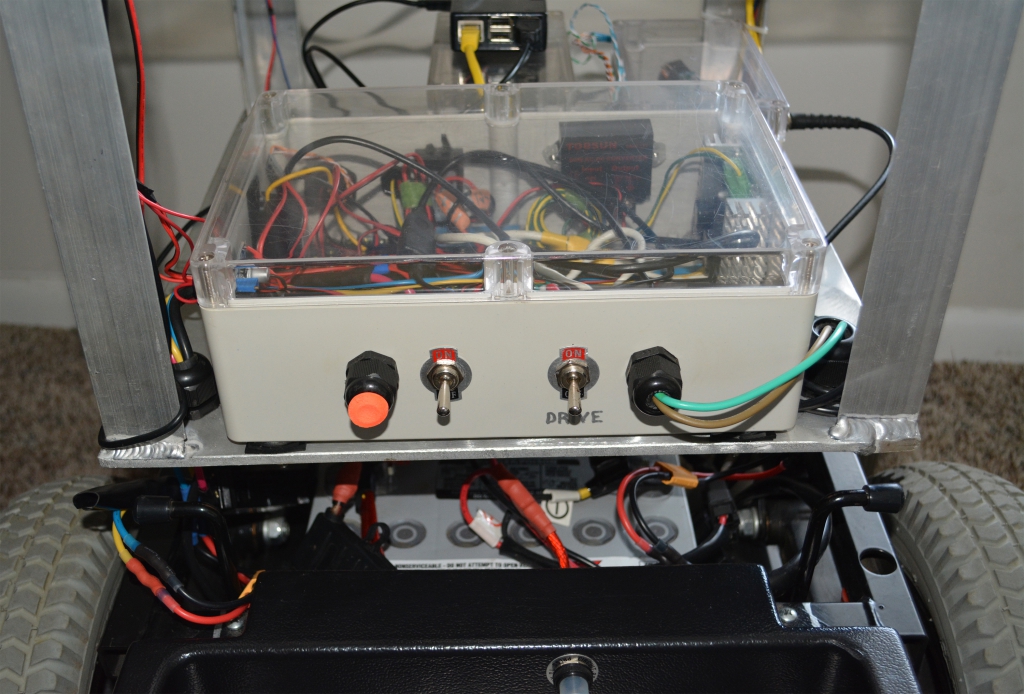
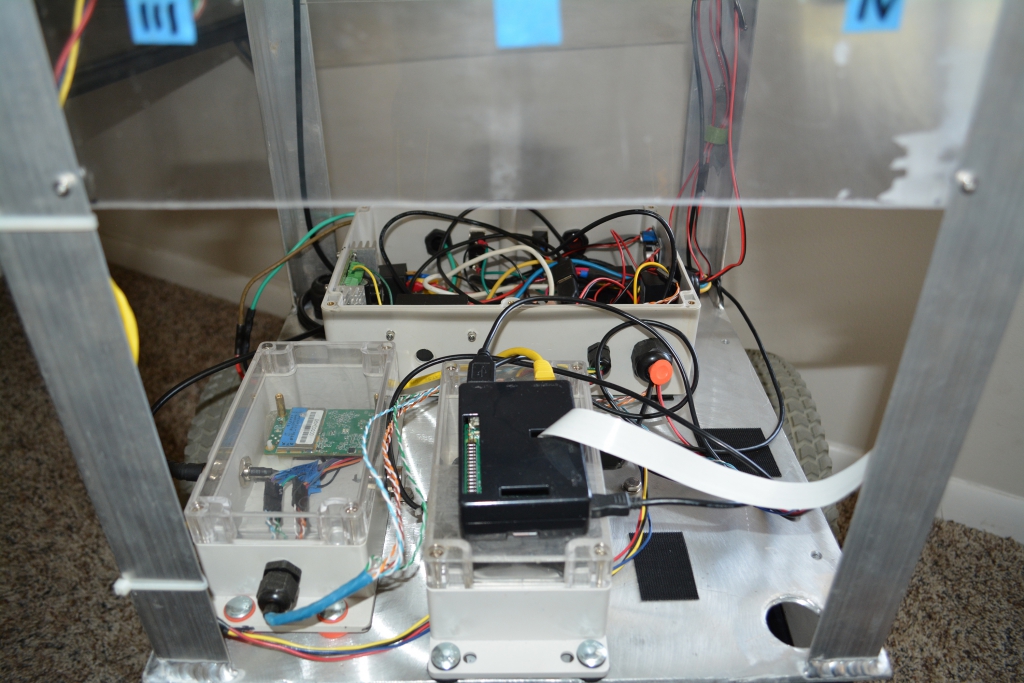
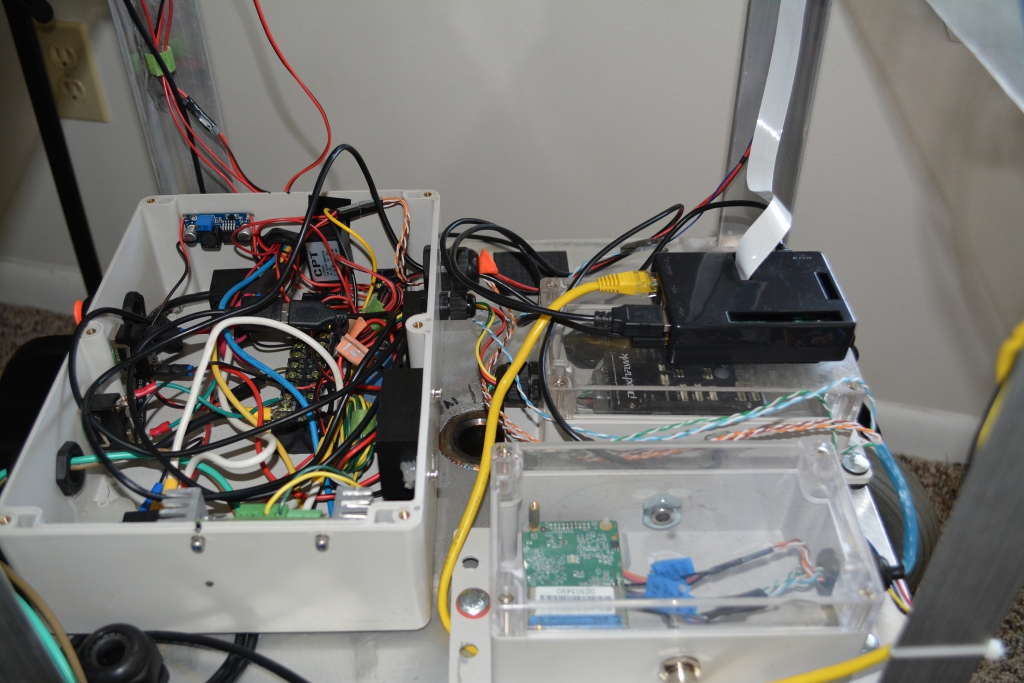
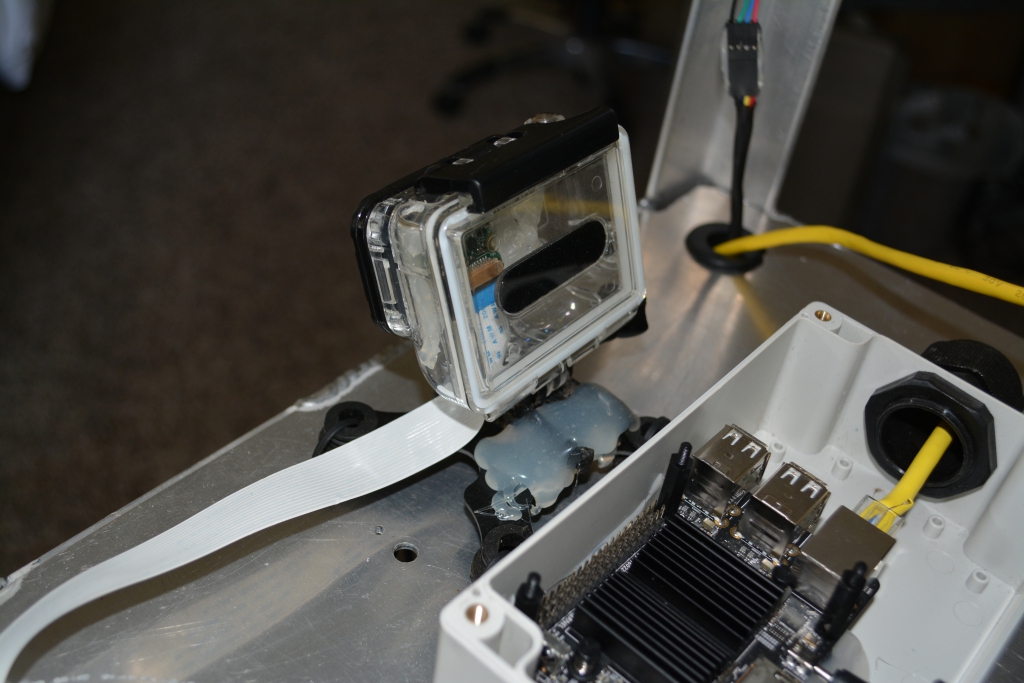
Power box contains Sabertooth 2×32 controller, terminal blocks, 24v-to-12v DC-DC converter, 12v-to-5v DC-DC converter, relays, and USB power supply. I know what you’re thinking — those wires look out of control. Agreed.
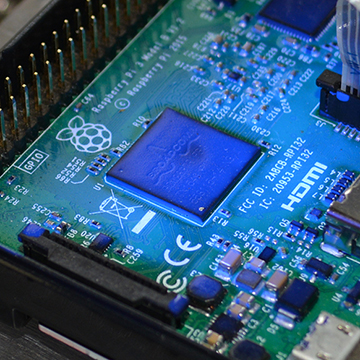
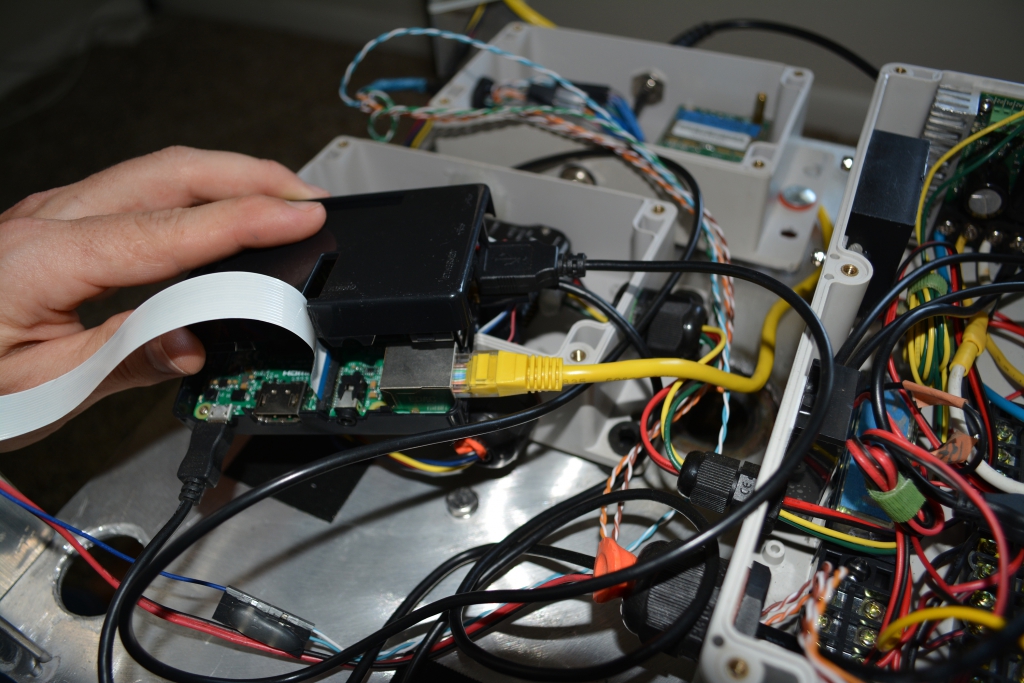
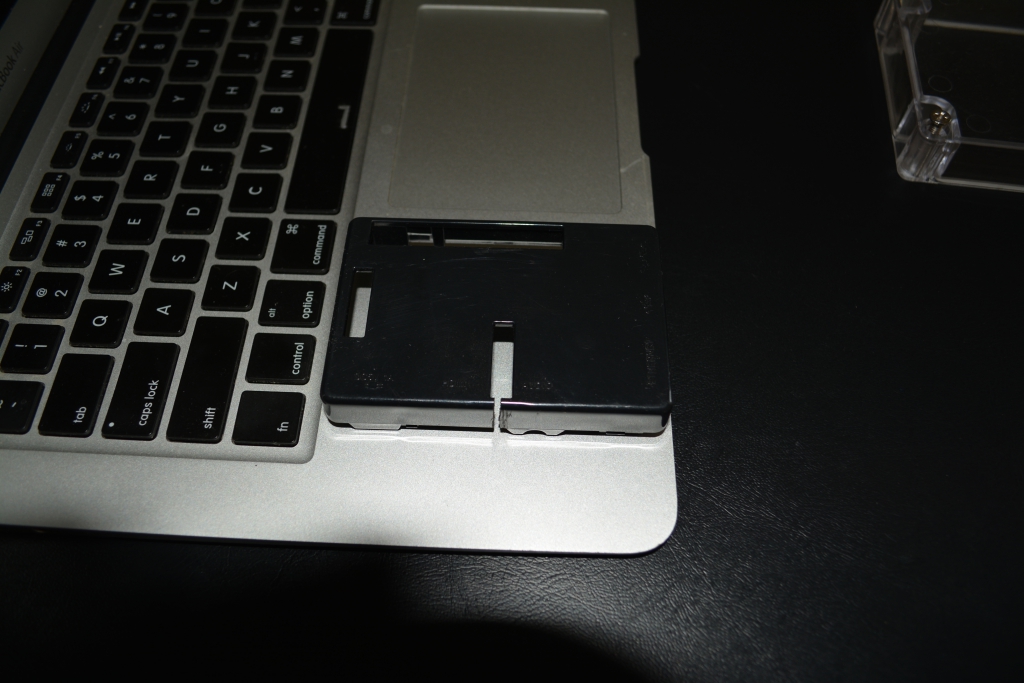
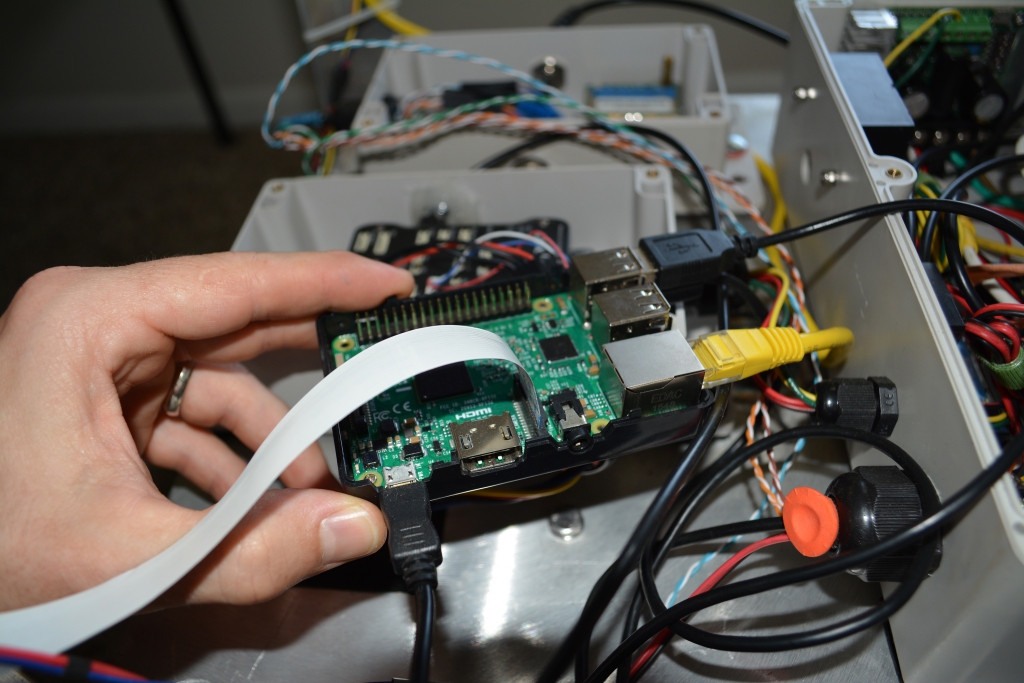
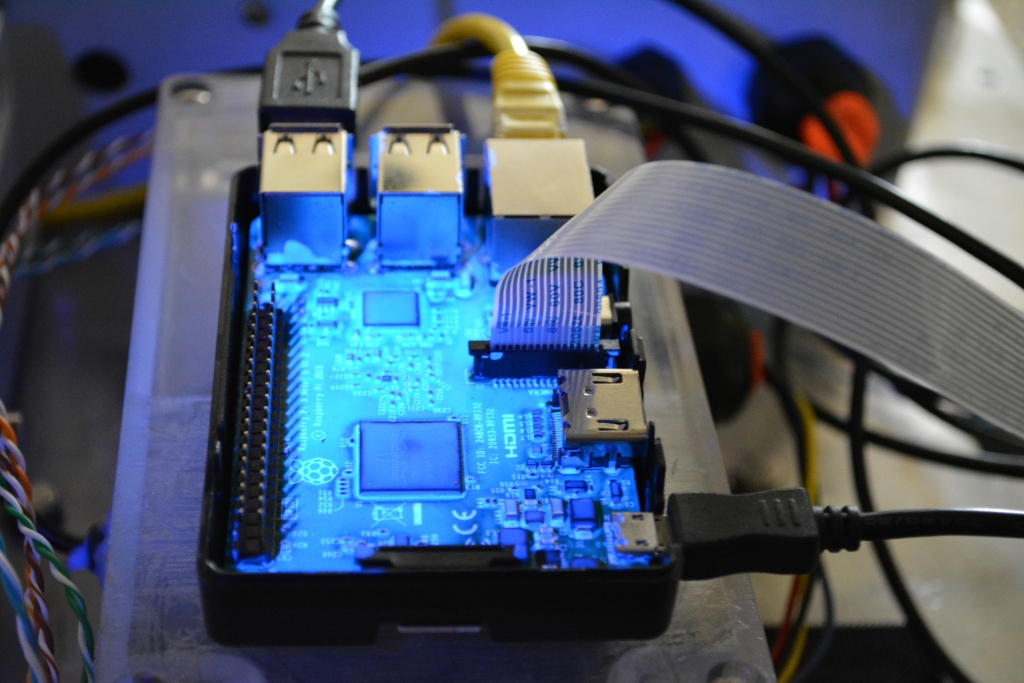
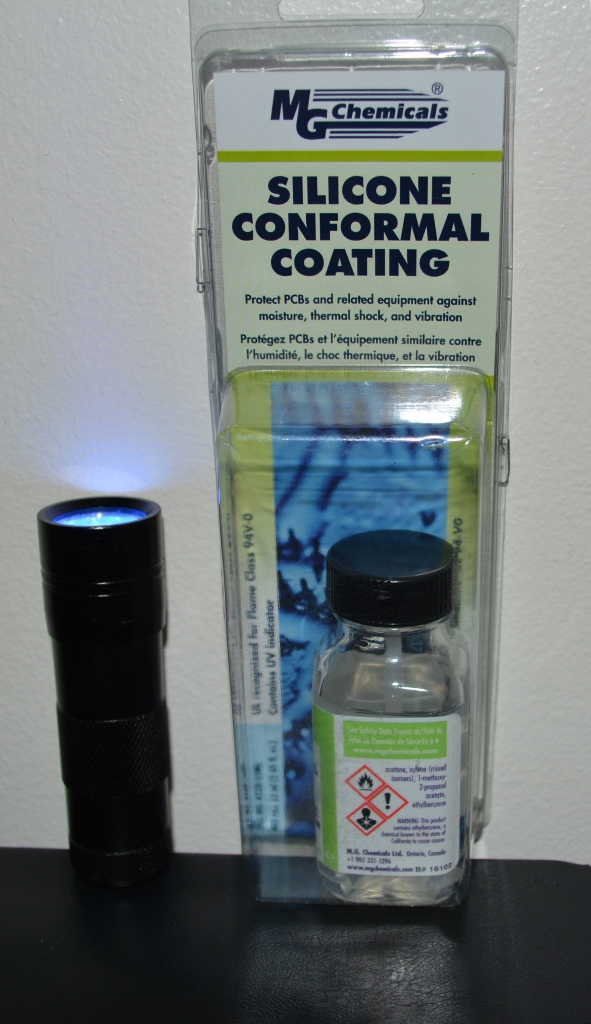
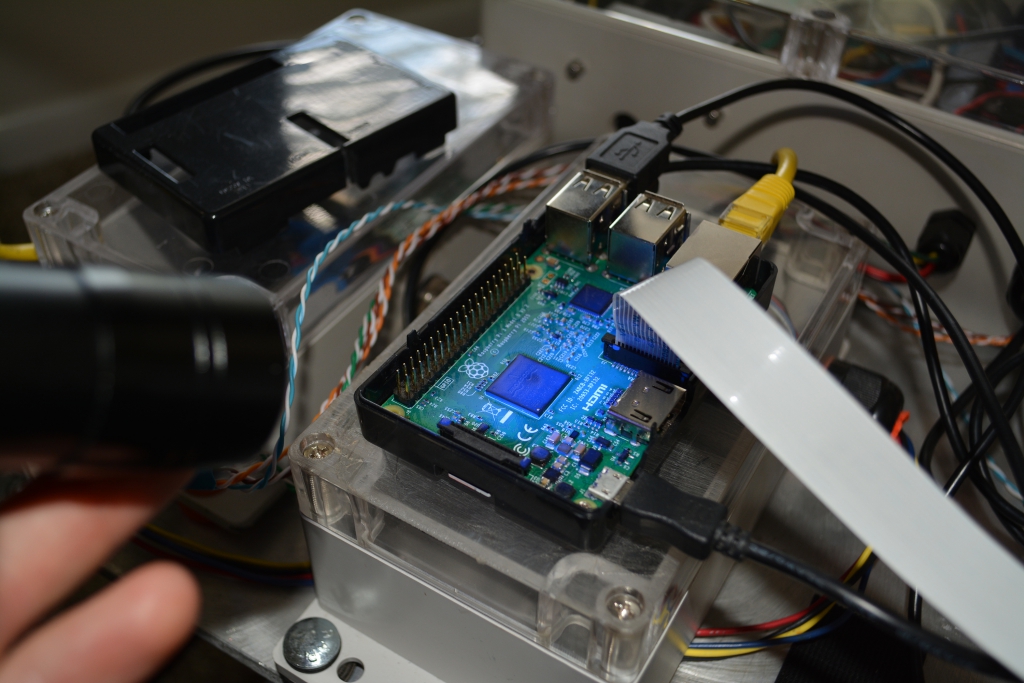
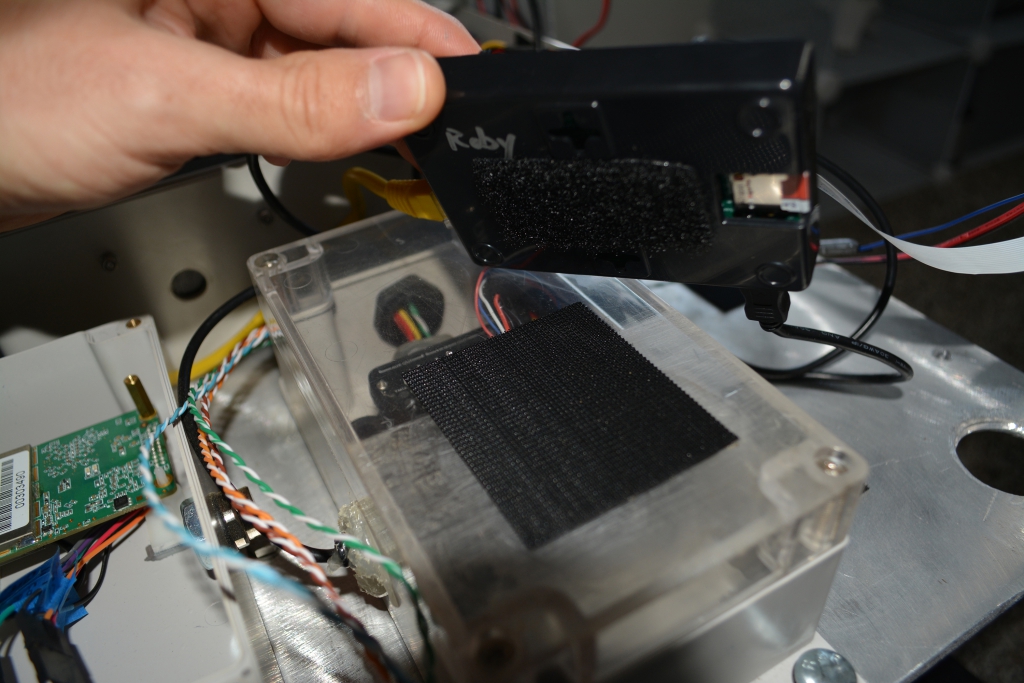
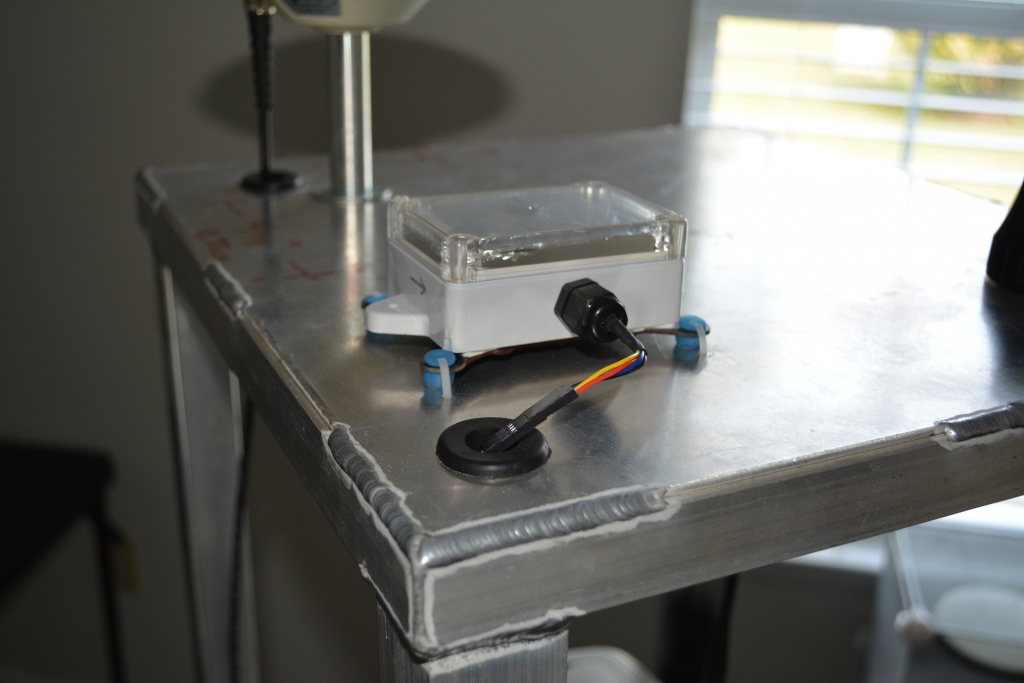
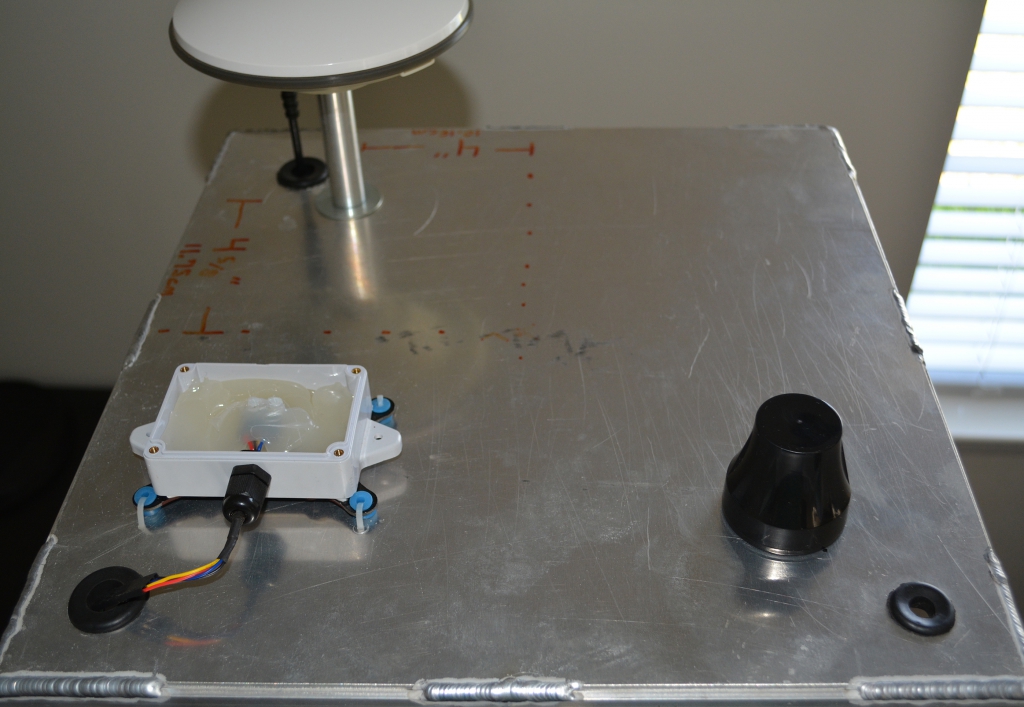
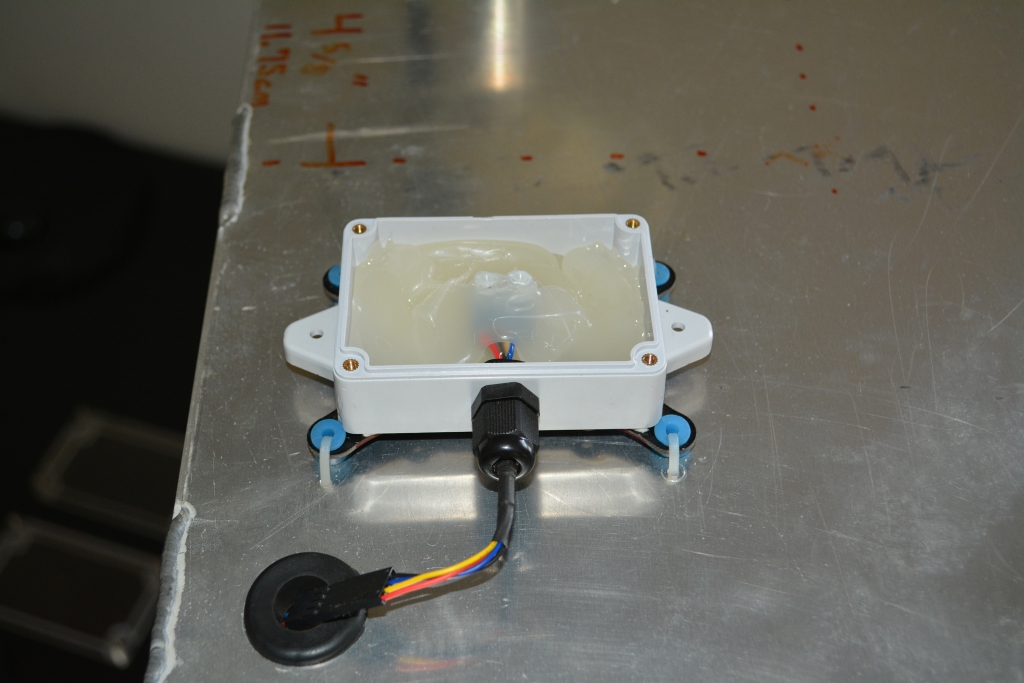
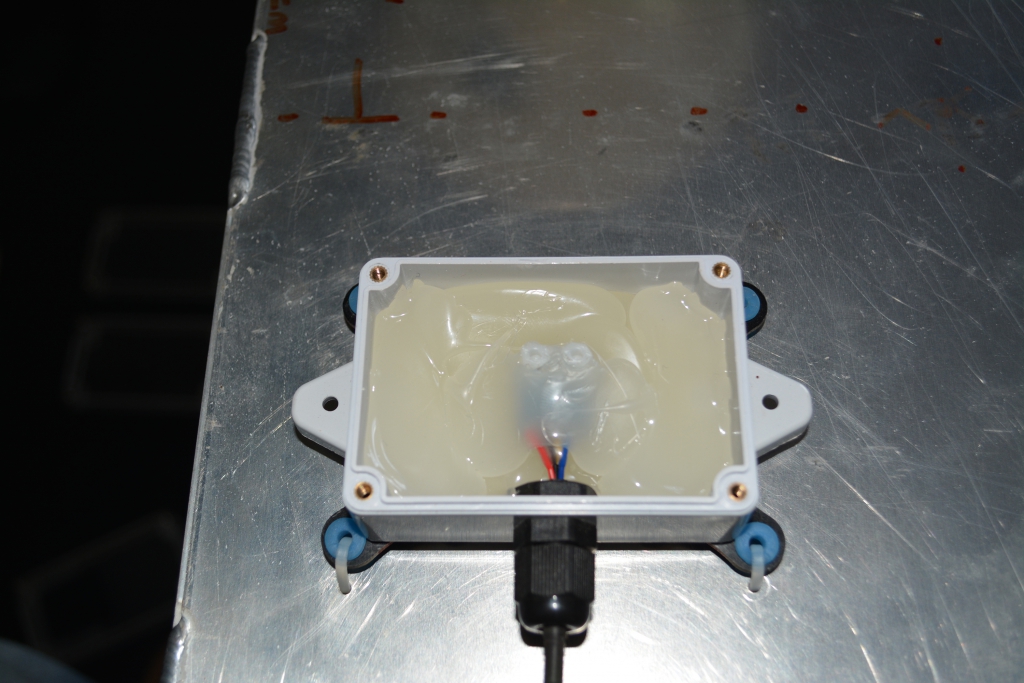
Did you guess? It’s conformal coating! I like to leave the Pi exposed for testing — the reason for this is that it seems you’re always plugging in another cable or pin to the Pi, and enclosing it inside a case creates future time drains. Here we have a problem, though: what happens when the unexpected April shower pops up in the middle of your mission? If your Pi’s unprotected, you may have just lost $35. Our answer to this situation is a good coating of MG Chemicals conformal coating.
The coating glows when you illuminate it with a UV light, revealing how much coverage you achieved. Man, stuff that glows is timelessly cool.
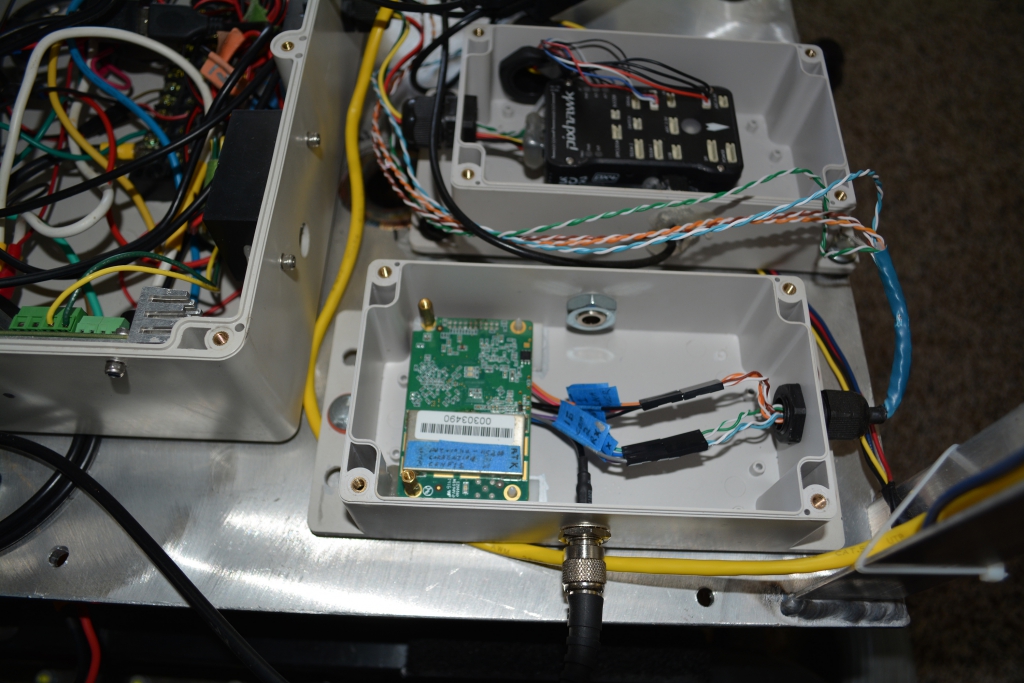
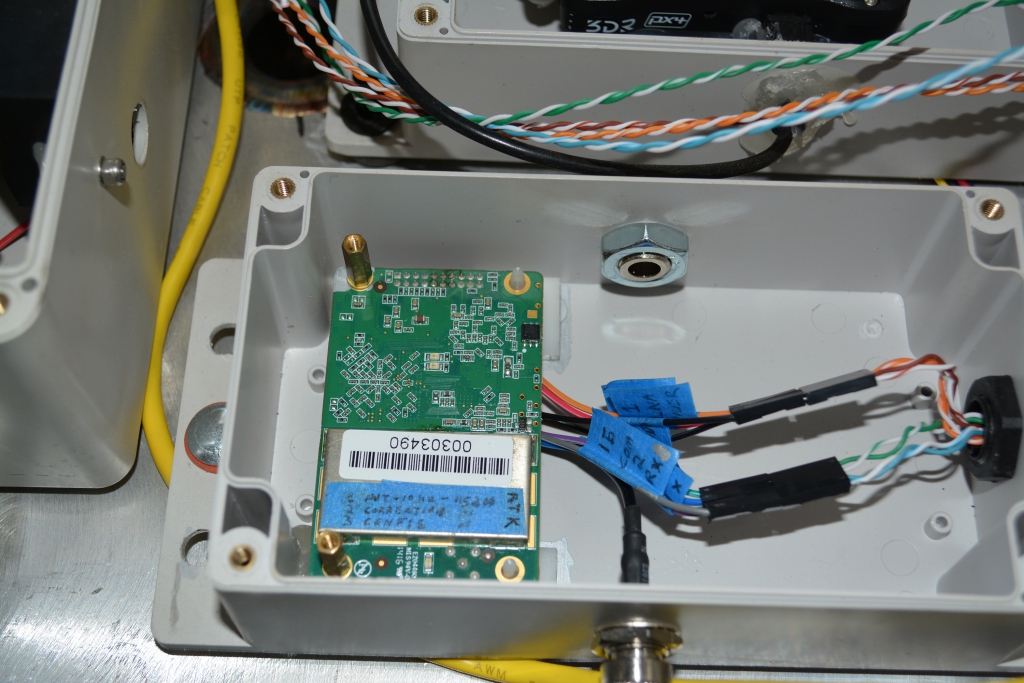
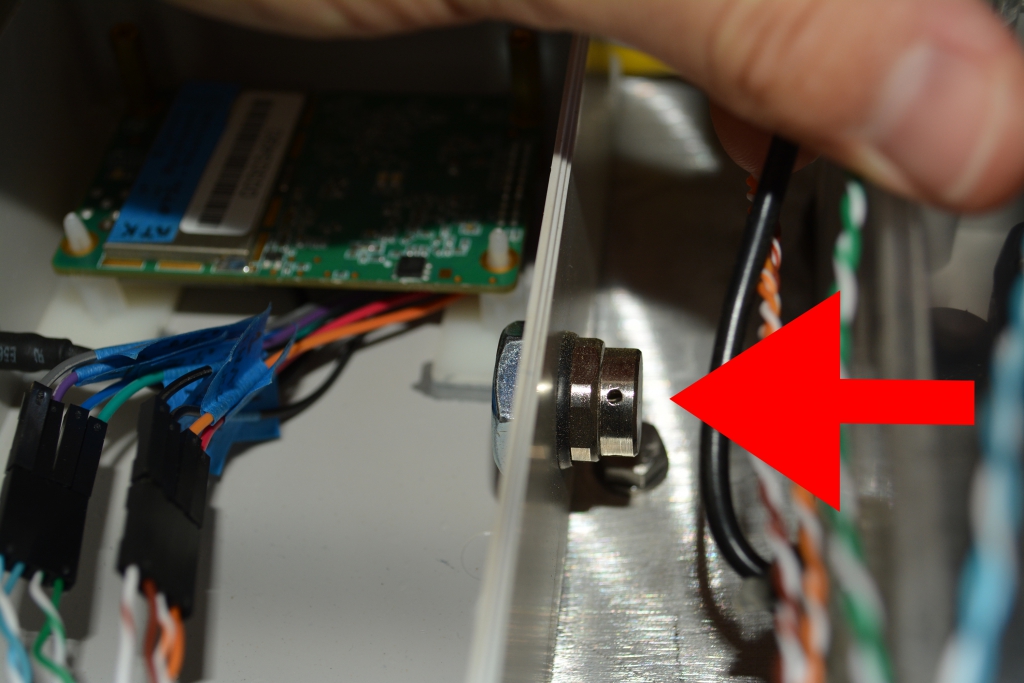
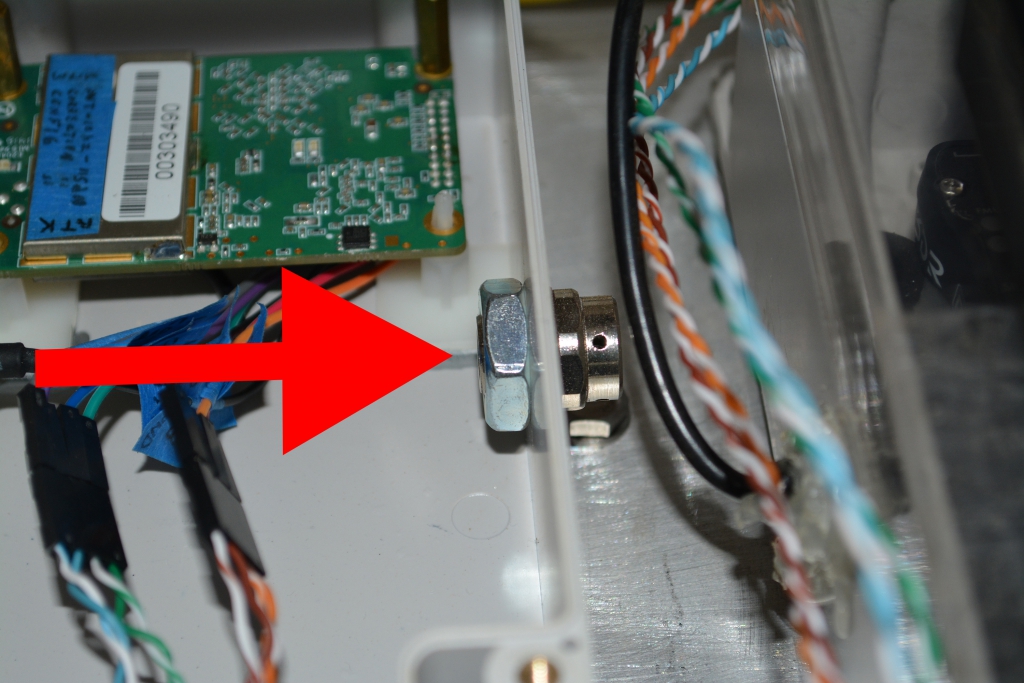
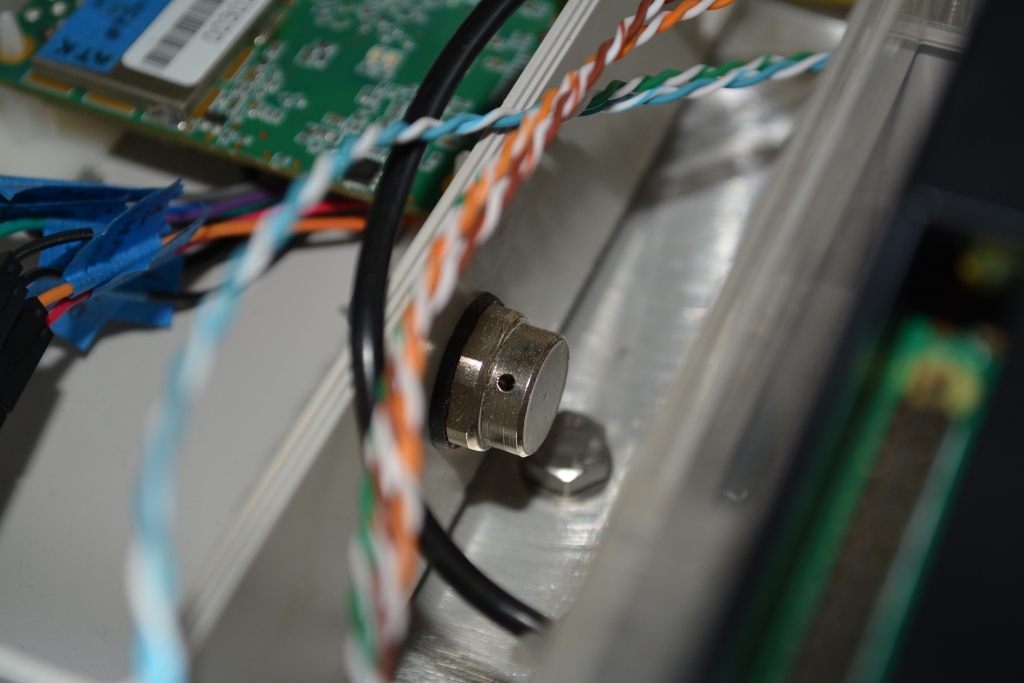
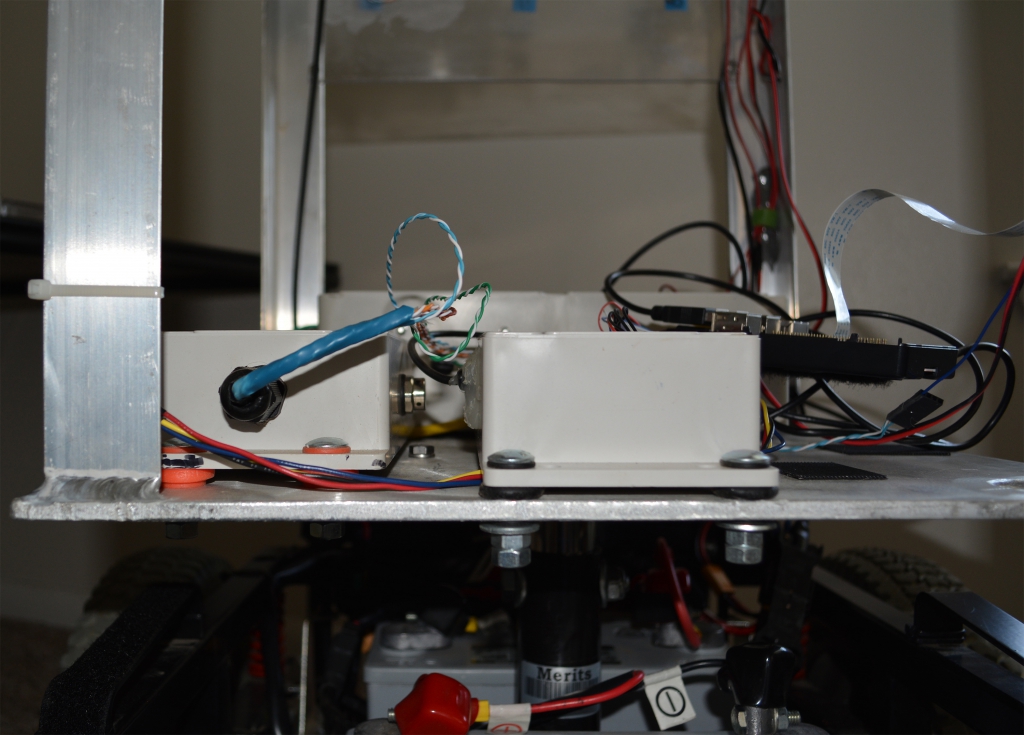
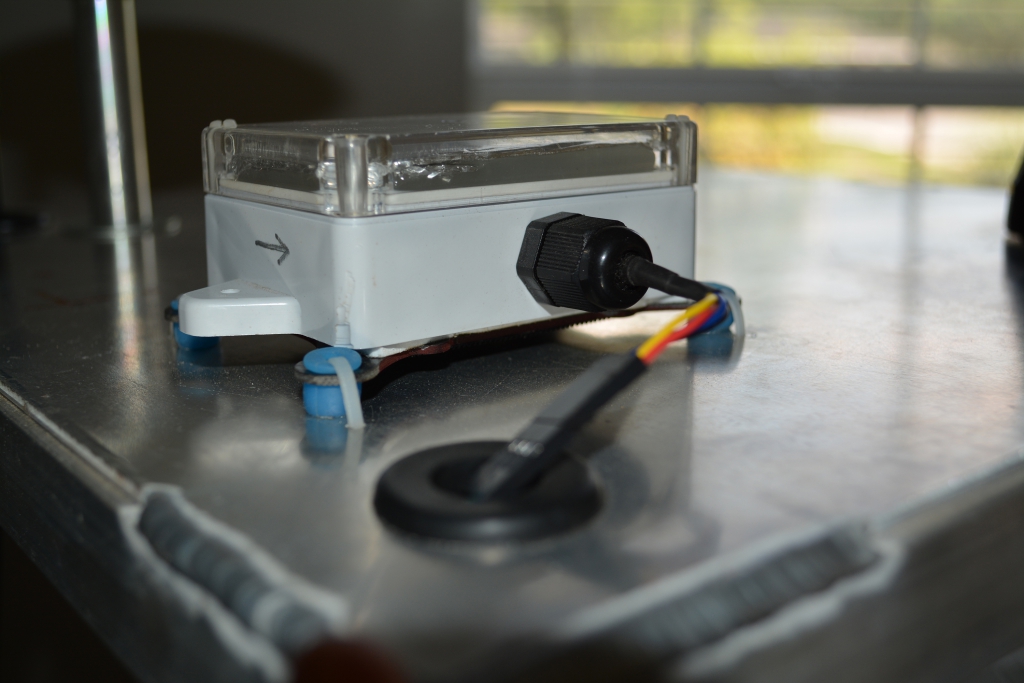
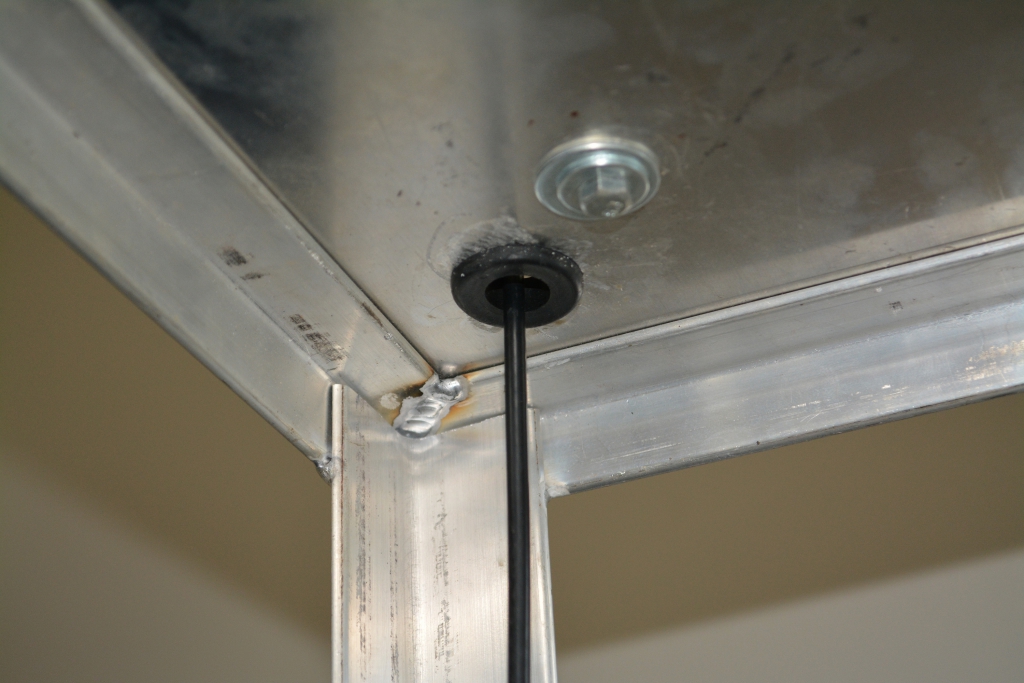
One last note: rubber grommets will keep sharp metal corners from cutting into your sensitive wires. As an added bonus, I think the black grommets contrast favorably on the silver aluminum body
Wrapping Up
Man that was a big set of pictures! Hey, if anything wasn’t clear, just shoot a question in the comments and we’ll try to clarify.
I have a feeling that next time we’re going to stir up a little more GPS excitement.
Until we meet again,
Sincerely yours,
Roby


19 Responses
These posts are great, Roby.
Thanks Will!
Hey Roby what is your take on IMU calibration for orientation detection? I’ve been reading about “factory calibrated” tactical grade IMUs which cost 10x as much or more than the others. Is there really an IMU out there that won’t need calibration? If so I might be willing to spend that knowing the readings are good. I am more thinking about the accel and gyros and not so much the magnetometer.
Hi Golfman! I can’t comment on tactical grade IMUs. My observation of the commodity-grade IMUs like the 6050 or the 9250 is that they are good sensors if properly calibrated and if shielded from wild environment changes.
More to the point: for something like an autopilot on a commercial zero-turn mower, the Pixhawk’s IMU coupled with an external compass (like above), and an L1/L2 GPS/GLONASS RTK receiver @ 10hz, is more than sufficient to produce a high quality precision path following solution.
One more thought: if you’re running an Arudpilot autopilot (like Pixhawk, Pixracer, etc), the Mission Planner app has a pretty slick mission analysis tool that you can use to graph out all your gyro/accel/mag/whatever readings after a mission.
Back to your question, I would be interested in seeing some kind of real-world comparison between a high-end IMU and the 6050/9250.
Great stuff!
“Young sons, heed my words: OFF MUST BE DOWN. I really don’t care about which way you make ON, but you MUST make the down position of the switch correspond to OFF.”
I too learned that the hard way.
Not going to lie, you’ve got me all fired up to spend a few dollars organizing my cables and enclosures. I’m a tightwad and didn’t think it was worth it until I saw these pictures. Consider me convinced!
Bob,
It’s a great craft/hobby! Hope to hear about your progress.
–Roby
“OFF MUST BE DOWN”
An alternative to flip switches is to use emergency stop buttons (with hardware latches). Unfortunately some of these don’t disconnect very cleanly, but it’s still better than trying to work out up-vs-down in a capsizing rover (even when it’s not about to fall into the dam).
Great site, BTW.
Scott.
Hi Scott,
Completely agree.
Thanks for stopping by,
Roby
Hi Roby,
Nice setup you have there. Looks fantastic! Is there a reason (or rather, what was the reason) that you built the frame for your electronics so tall? It seems to me that you’d want your center of gravity for the robot to be lower, but with two SLA batteries on the bottom I’m sure it’s not an issue.
I am working on a similar setup but without some of the bells and whistles your setup has. Did you have any issues with compass interference from your motors? My compass and Pixhawk were ~12in from the motors and I noticed my compass readings were all over the place and my autonomous missions would never drive in a straight line. I really want to avoid placing the flight controller and compass too far above the vehicle CG but I may not have a choice. Just looking for your two cents, if you have some.
Hope you get back to posting soon, this place is a treasure trove of information!
Thanks,
Bob
Hi Bob,
There are several advantages (for my experiments) to the tall multi-level platform:
1. Ability to put compass away from motors / motor controllers / ferrous base. Notice that the compass is on the top. Also note the ad-hoc insulation around the compass — the HMC5883 is sensitive to sudden temperature changes. For your situation, why not put your flight controller near CG (likely better for the accells/gyros) and just rely on an external compass that’s mounted a bit away from the motors and motor controllers. These compasses are super-light if you buy them a la carte.
2. More room to mount all electronics & antennas as far away from each-other as possible. My observation is that once you start building one of these robots, you rarely look around and say “Man, I’ve got too much room on this platform and no new components to install.”
3. Ease of pushing the robot back to the shop when it breaks down — I’m no longer 16 and thus don’t like bending over to push a big heavy robot back home.
Note that the big platform is made out of non-ferrous aluminum. This yields two advantages: 1. Super-light (~7kg) and 2. Easy to drill & cut (nothing like burning through drill bits on hard metal to dampen an otherwise wonderfully satisfying afternoon in the shop).
So, since the base is 70kg, the weight of the platform doesn’t hurt the CG significantly (for my experimental use cases).
Glad you stopped by & best wishes with your own missions!
Cheers,
Roby
Good thinking Roby, many a time have I had to stoop down to wheel my robot back to the garage. It’s quite the hassle.
I feel foolish for not thinking about moving the compass itself further away from the motors, that would be an elegant solution 😉 Right now I’ve got 10 pounds of poo in a 2 pound enclosure, I like how spread out everything is on your setup.
True story about enclosures and platform real estate, I’ve drawn most of my stuff up in a CAD system and I go through three or four iterations of increasing enclosure sizes before I am finished with a design.
Great post! Have you seen my question?
many thanks
Jorrit
Thanks Jorrit — Guess I’ve missed your question!
recently went to pixhawk for rover from apm as it says board no longer supported on update. No aux. inputs for sensors on pixhawk. Uno the solution?
Hi. It’s possible connect sabertooth directly on pixhawk, without Pi? Can you make a post about config on mission planner? Thanks and congrats!
Hi Crhistian — The Pixhawk Signal 1 and Signal 3 wires are directly connected to 1 and 2 on the Sabertooth — that’s where Pixhawk is sending PWM values out to the Sabertooth. You’re right that I should probably do a post on configuring with Mission Planner – the amount of options and parameters is pretty vast and can be overwhelming.
Hi Rob
To a complete newbie here the big step to connect the radios to Pixhawk and carry out the first mission planner waypoint then see the rover follow the path.
I have not seen any further blogs for 6 months. I hope you and family are ok
Also are you able to do a blog on the zen-f9p well a more comprehensible blog to explain when you connected the rover to the base does that mean rover and base are actually on the moi g platform.
To a complete newbie this subject is so overwhelming when it comes to the f9p module configurations. This is really robotic science and as one of my previous teachers agreed with me, you have to be crazy to be interested in robotics.
Enjoy your blogs
Hi DGB,
Thanks for stopping by. Completely agree that it is quite overwhelming for a while when you jump into this field. Hope to release some software at some point not too far out to help with this 🙂
Take care,
Roby